

The GeoBuddy Announcement Bar addon lets you display customizable notification bars at the top or bottom of your GeoDirectory website — to promote offers, share updates, announce events, and drive visitor action.
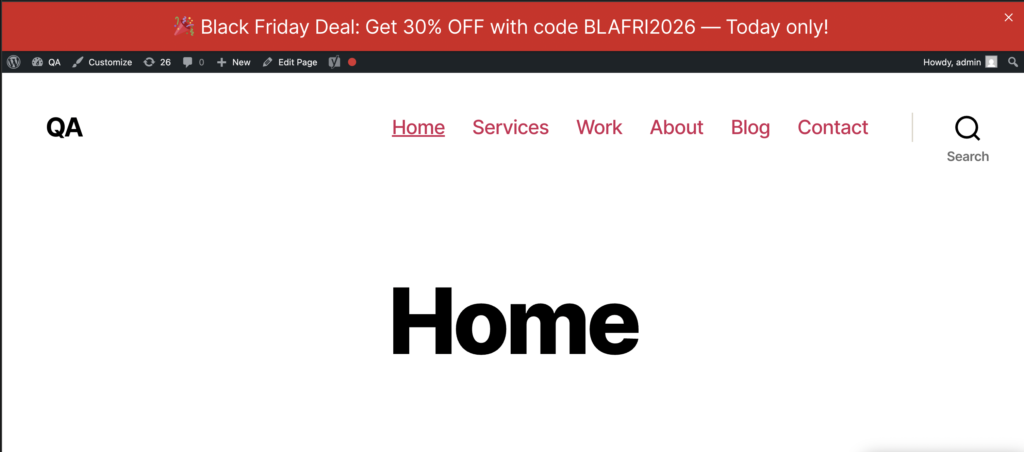
Installation #
- Purchase the addon from wpgeobuddy.com/downloads/geobuddy-announcement-bar/
- Go to WordPress Dashboard → Plugins → Add New → Upload Plugin
- Upload the ZIP file and click Install Now, then Activate
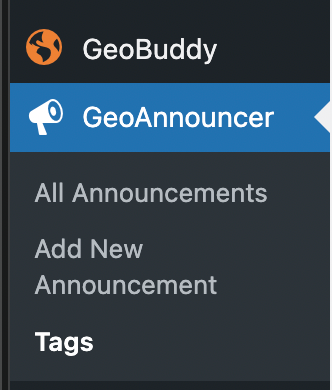
- A GeoAnnouncer menu item will appear in your WordPress admin sidebar
How to Create an Announcement #
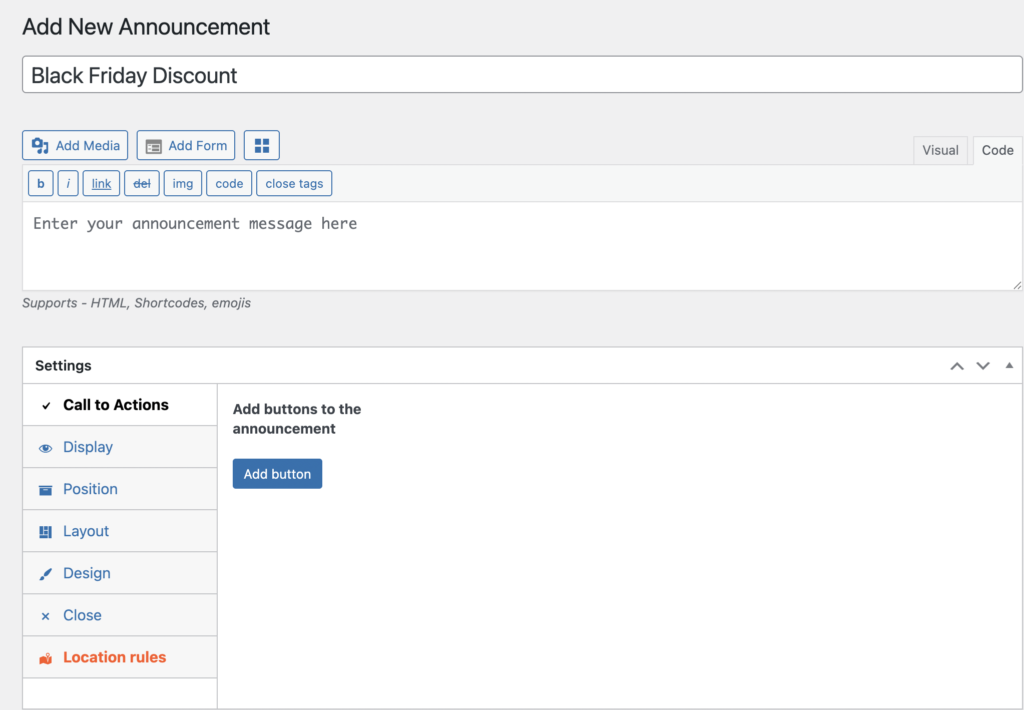
- Go to GeoAnnouncer → Add New Announcement
- Enter a title — used as an internal reference, not shown to visitors
- Write your announcement message — supports HTML, shortcodes, and emojis
- Click Add button under Call to Actions to attach one or more CTA buttons
- Configure the settings tabs (see below), then click Publish
Announcement Bar Settings #
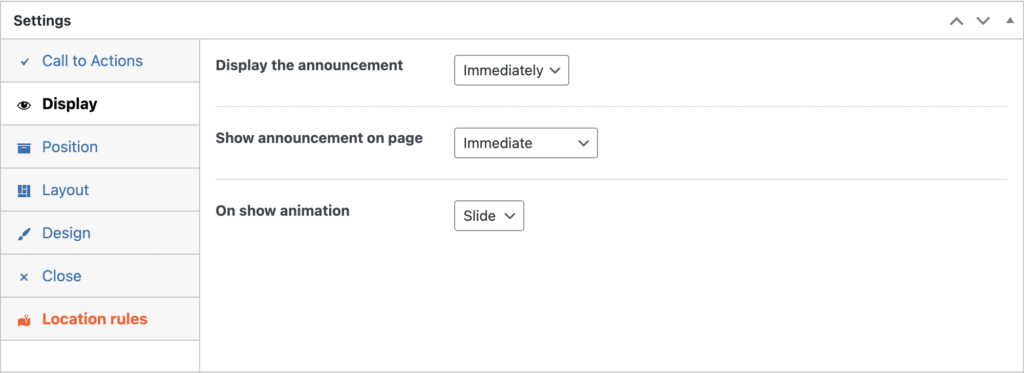
Display #
Set when the bar appears — immediately on page load or on a schedule. Choose the on-show animation (Slide, Fade, etc.).
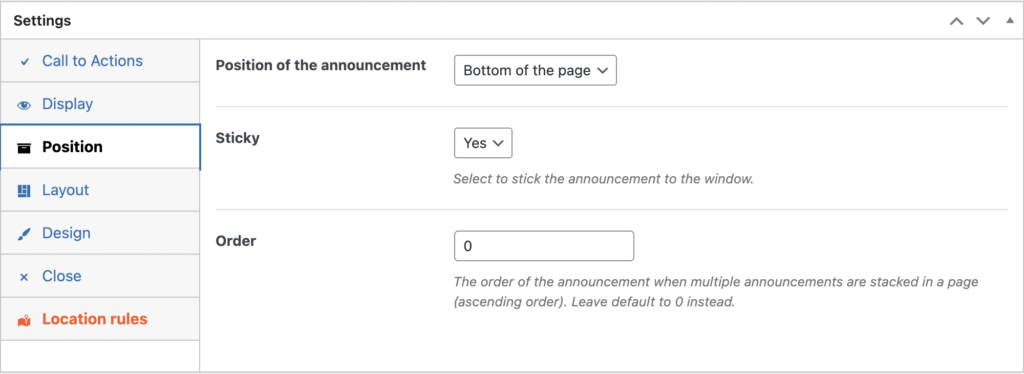
Position #
Place the bar at the Top or Bottom of the page. Enable Sticky to keep it fixed while the visitor scrolls. Use the Order field to control stacking order when multiple bars are active on the same page.
Layout #
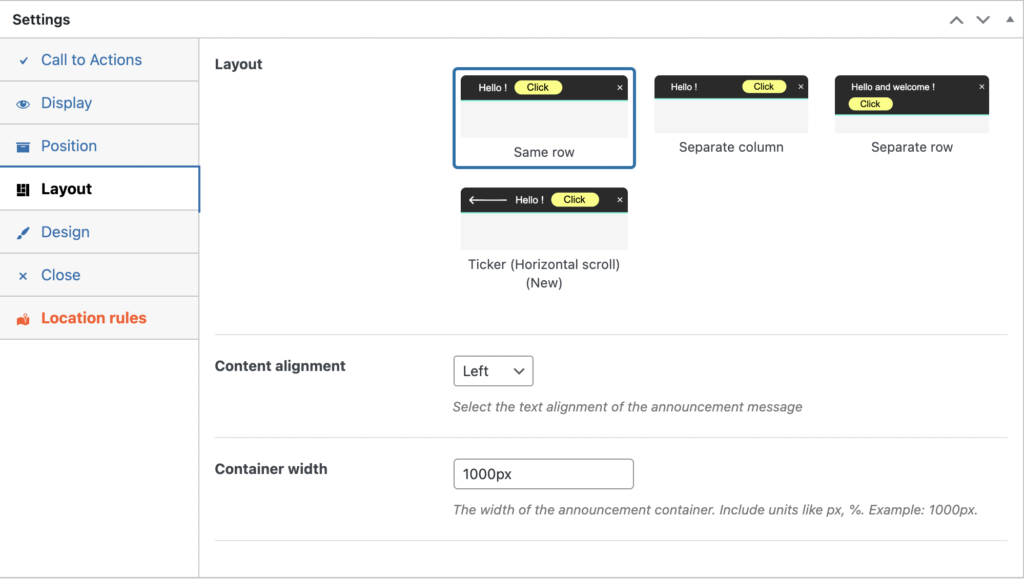
Choose how the message and button are arranged:
- Same row — message and button side by side
- Separate column — button below the message
- Separate row — button gets its own full row
- Ticker — message scrolls horizontally across the bar
Also set content alignment (Left, Center, Right) and container width (px or %).
Design #
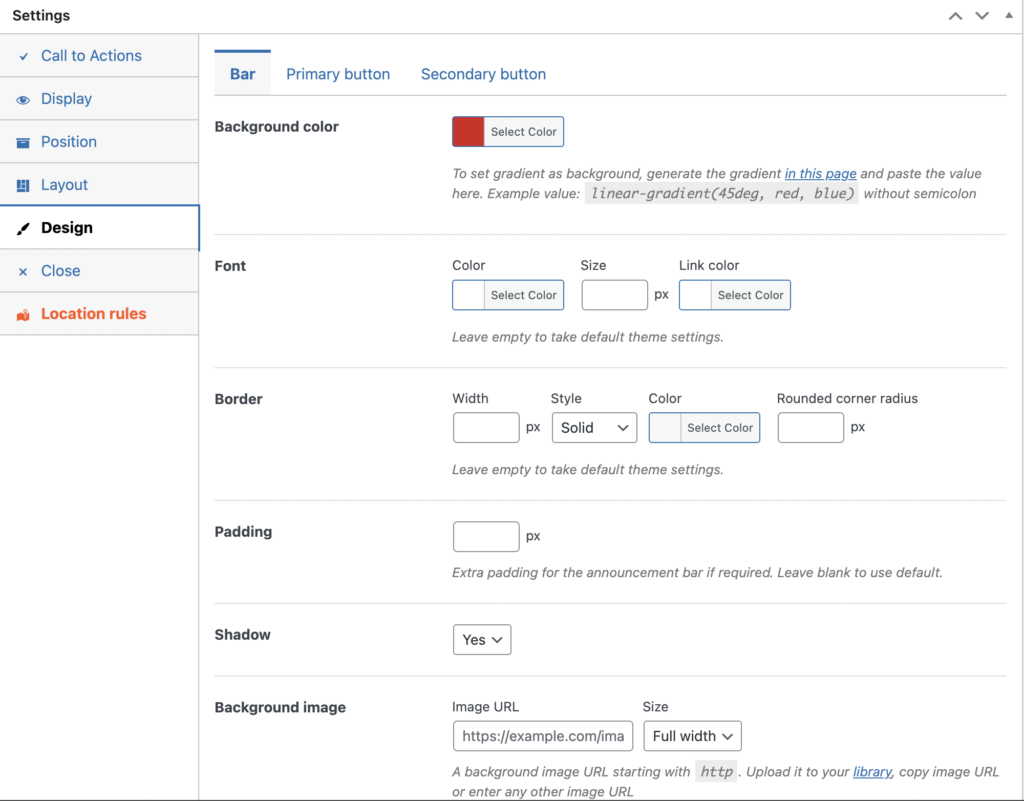
Customize the look of the bar:
- Background color or CSS gradient — e.g.
linear-gradient(45deg, red, blue) - Font color, font size, and link color
- Border width, style, color, and corner radius
- Padding, shadow toggle, and background image
- Independent styling for Primary and Secondary CTA buttons
Close #
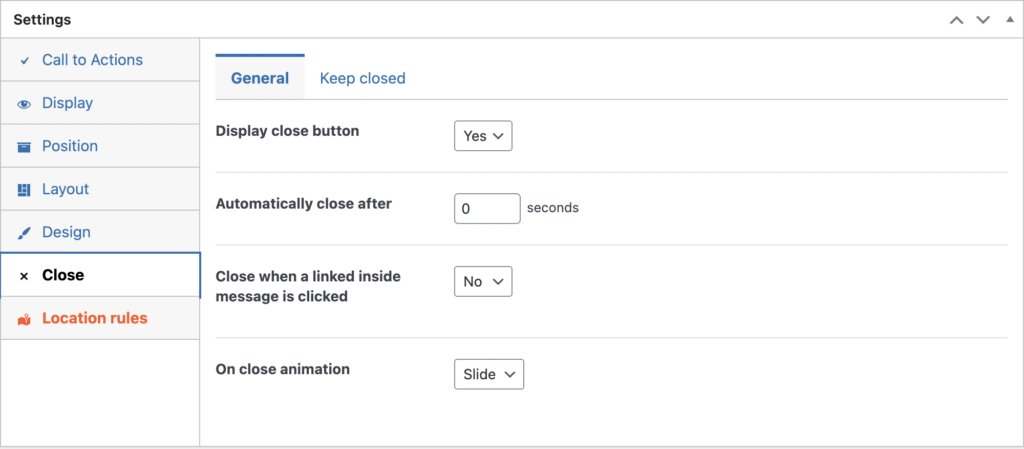
- Show or hide the dismiss (×) button
- Set auto-close after N seconds — use 0 to never auto-close
- Optionally close the bar when a link inside the message is clicked
- Enable Keep Closed to store the dismissed state via cookie so returning visitors do not see the bar again
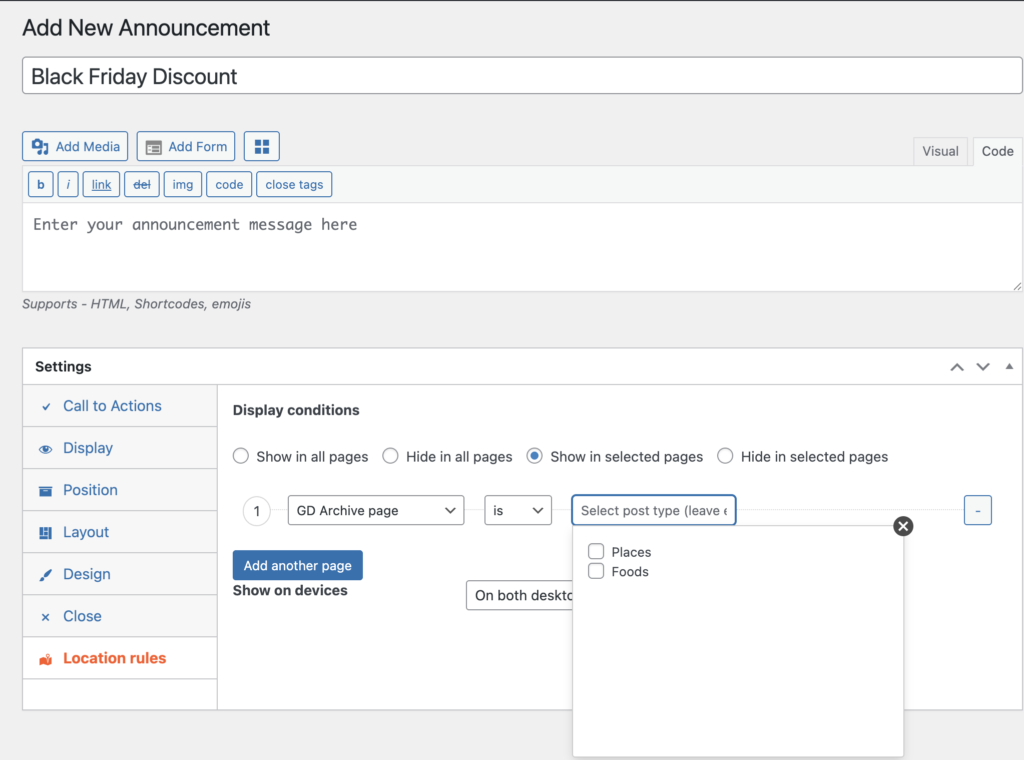
Location Rules #
Control exactly where the bar appears:
- Show in all pages, hide in all pages, show in selected pages, or hide in selected pages
- Target by page type: Single post, Page, Home page, Front page, Archive pages, 404 page, and more
- GeoDirectory-specific targets: GD Search page, GD Archive page, GD Detail page
- Filter by category, tag, taxonomy, post format, or WPML post language
- Show on desktop only, mobile only, or both
Best Practices #
- Keep announcement messages short and action-focused
- Use the Ticker layout for scrolling promotional text on busy pages
- Use Location Rules to show GeoDirectory-specific messages only on relevant pages — for example, show a “Claim your listing” bar only on GD Detail pages
- Enable Keep Closed for promotional bars so repeat visitors are not interrupted
- Use the Order field when running multiple announcements to control display priority
- Group related announcements with Tags for easier management as your list grows
Frequently Asked Questions #
Can I show multiple announcement bars at the same time? #
Yes. Each announcement is fully independent. Use the Order field in the Position tab to control how bars stack when multiple are active on the same page.
Can I schedule an announcement for a specific date range? #
Yes. The Display tab lets you set a start and end date and time for each announcement — ideal for sales, events, or limited-time promotions.
Can I target the bar to specific GeoDirectory pages? #
Yes. Location Rules include dedicated filters for GD Search page, GD Archive page, and GD Detail page, so you can show contextually relevant messages exactly where your directory content lives.
Can visitors permanently dismiss the bar? #
Yes. Enable the Keep Closed option in the Close tab. A cookie stores the preference so the bar stays hidden for that visitor on future visits.
Does the announcement bar work on mobile? #
Yes. All bars are fully responsive. You can also restrict a bar to desktop only or mobile only using the Show on devices option in Location Rules.
How do I create a gradient background? #
Generate a CSS gradient using any online gradient tool, then paste the value directly into the Background color field — for example linear-gradient(45deg, red, blue). Do not include a semicolon at the end.


